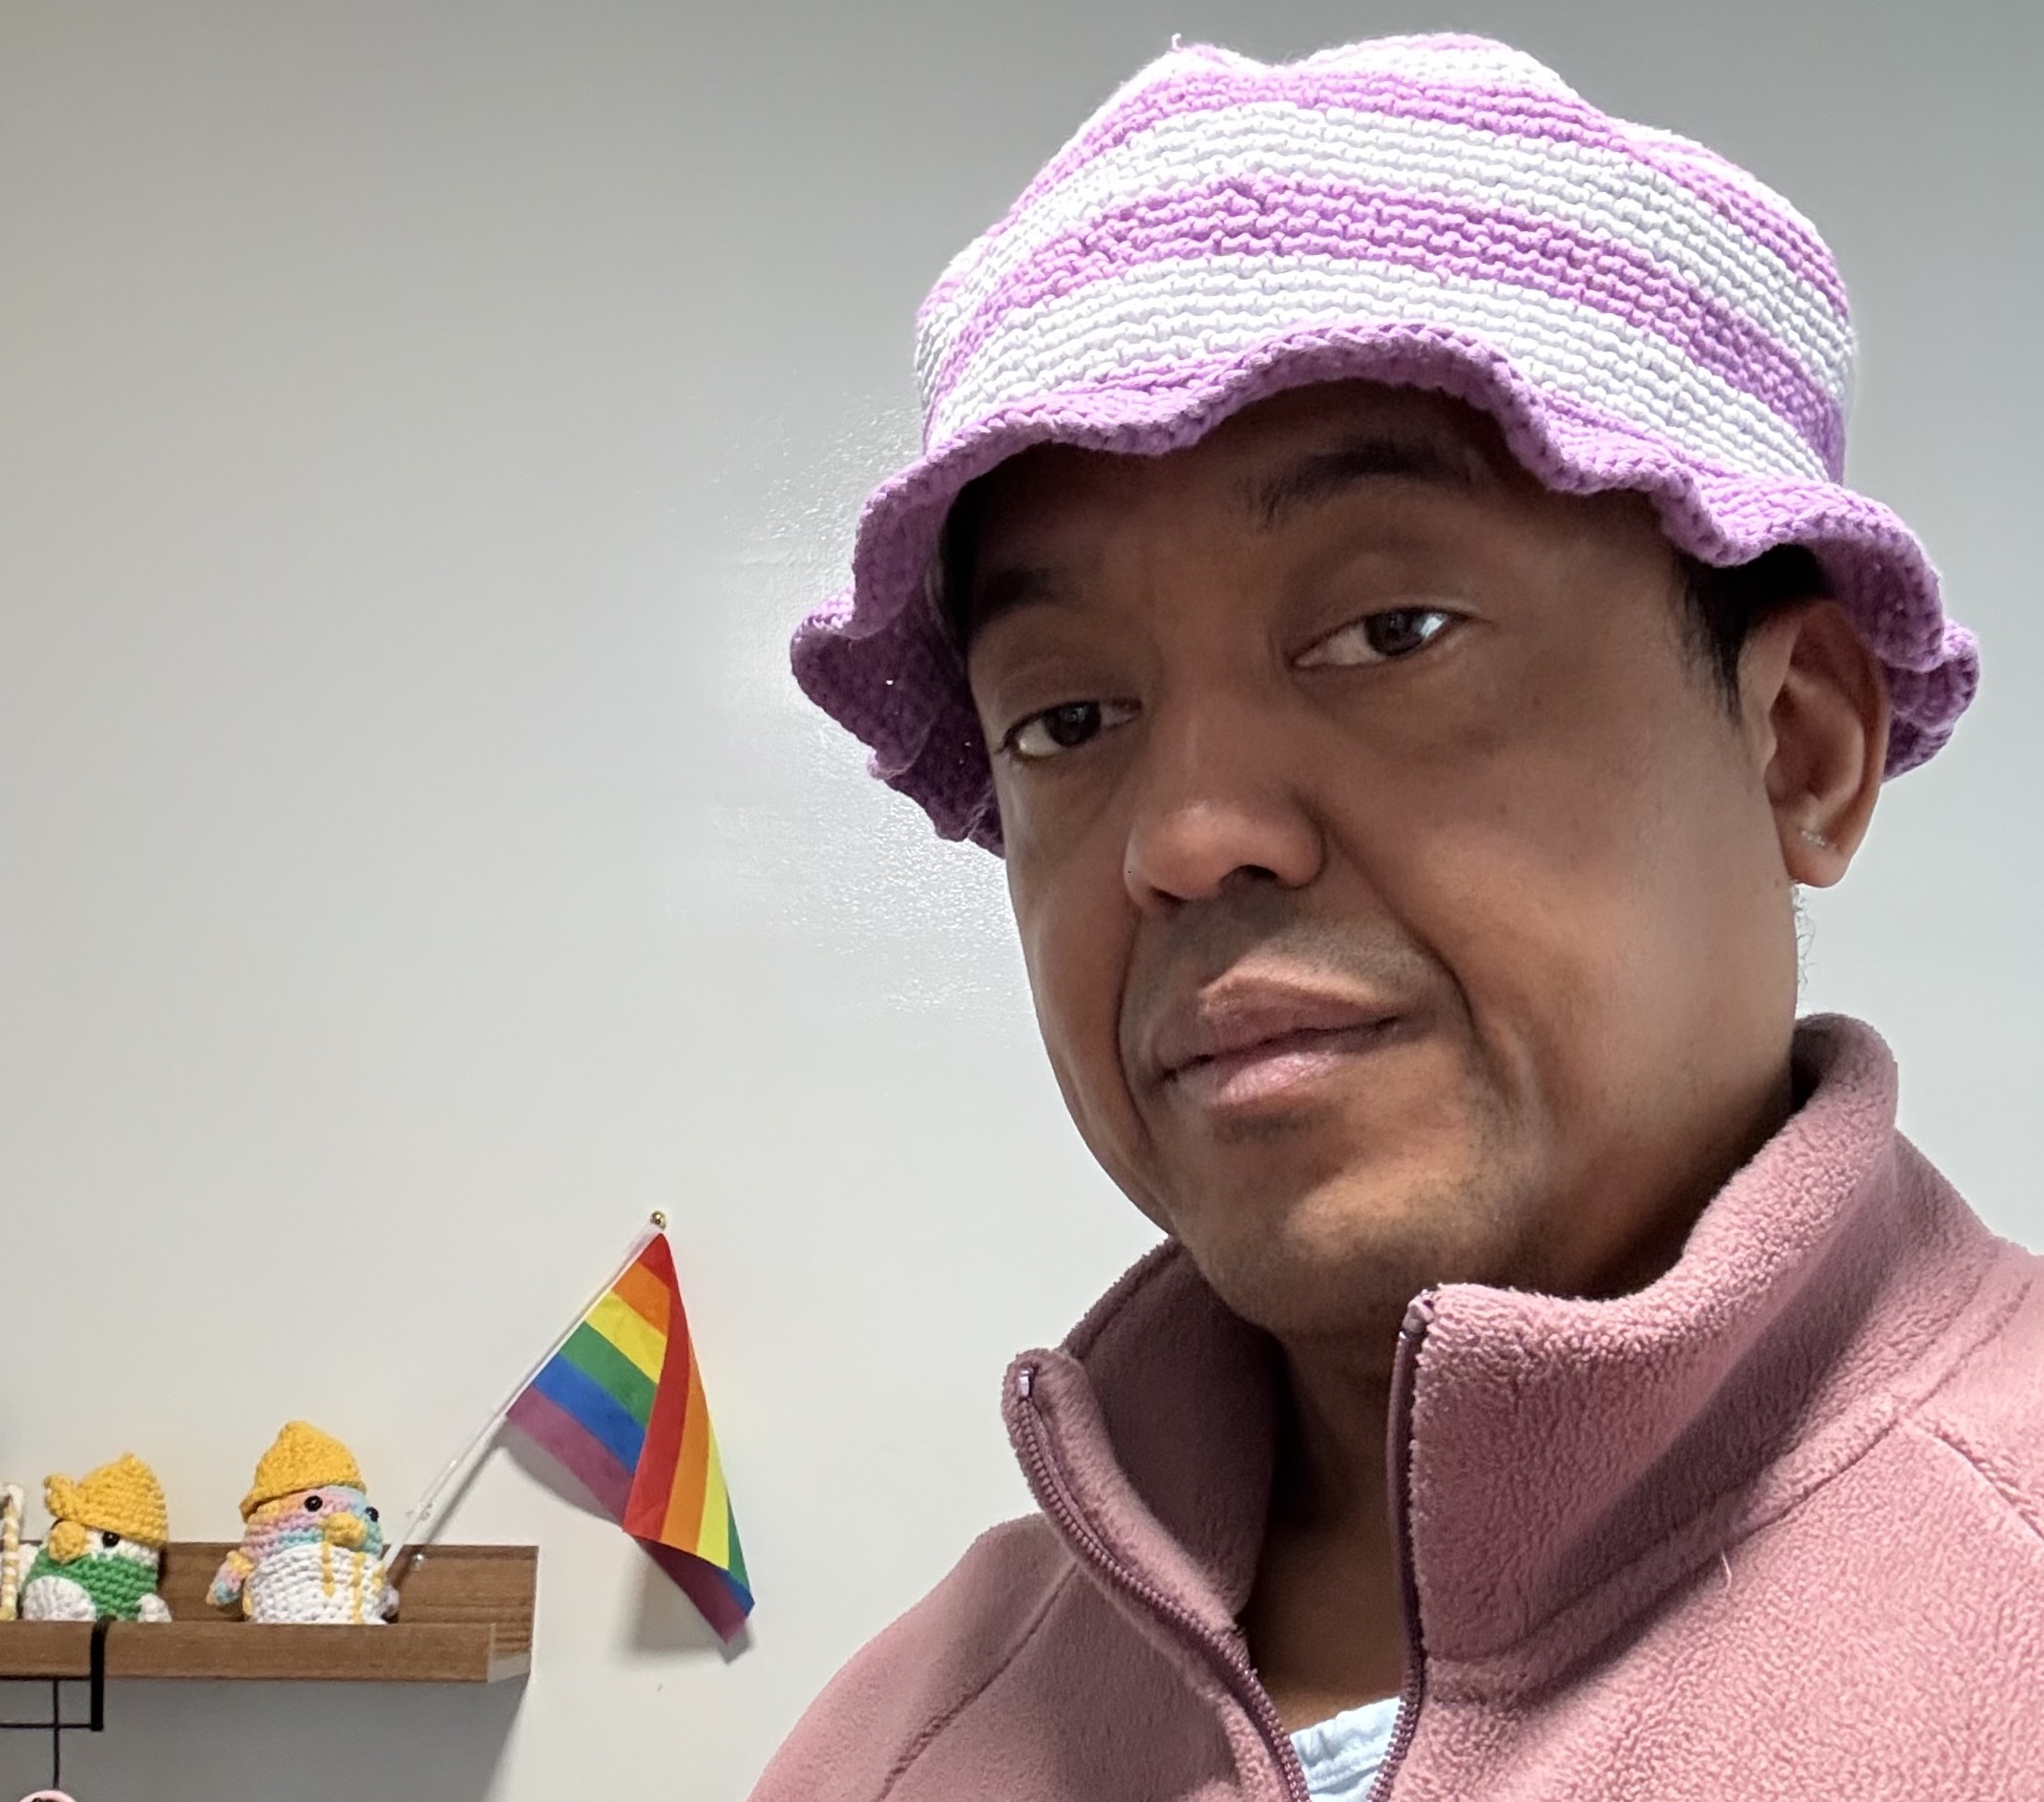
So, I started crocheting last year starting with the exceptionally beginner friendly kits from The Woobles. Occasionally, I like to take what I’ve learned and try my own creations. My latest started out as a beanie, but became a Kangol/Dr. Seuss inspired winter hat. All it takes is a magic loop, tooons of single crochet, double crochet, and half double crochet stiches.

Materials
- Yarn: Two colors of Wooble yarn (or any medium‑weight worsted yarn with good body)
- Hook: I used the beginners Wooble 4mm hook.
- Notions: Stitch markers, yarn needle for finishing.
Abbreviations
- sc = single crochet
- hdc = half double crochet
- inc = increase
- BLO = back loop only
- v’s = stitch count (where each “v” is the top of a stitch)
Pattern Instructions
Crown
- Rd 1: Magic loop, 8 sc. (8 v’s)
- Rd 2: Inc in each stitch. (16 v’s)
- Rd 3: sc, inc repeat around. (24 v’s)
- Rd 4: 2 sc, inc repeat around. (32 v’s)
- Continue increasing in this manner, adding one more sc between increases each round.
- Each round adds 8 stitches, so stitch count = 8 × round number
- Example:
- Rd 5: 3 sc, inc (40 v’s)
- Rd 6: 4 sc, inc (48 v’s)
- …and so on.
- Example:
How many rounds is the Crown?
- I have a larger head, so I continued increasing until Rd 15, which gave me 120 v’s total.
- For smaller sizes, you may stop earlier (often Rd 11–13).
- As a general guide, stop increasing once the diameter of your circle matches the widest part of your head.
Body
- Rd 16–36 (depending where you stopped increasing): Work straight rounds of sc. (Still 120 v’s)
- Try the hat on during these rounds to ensure it fits correctly.
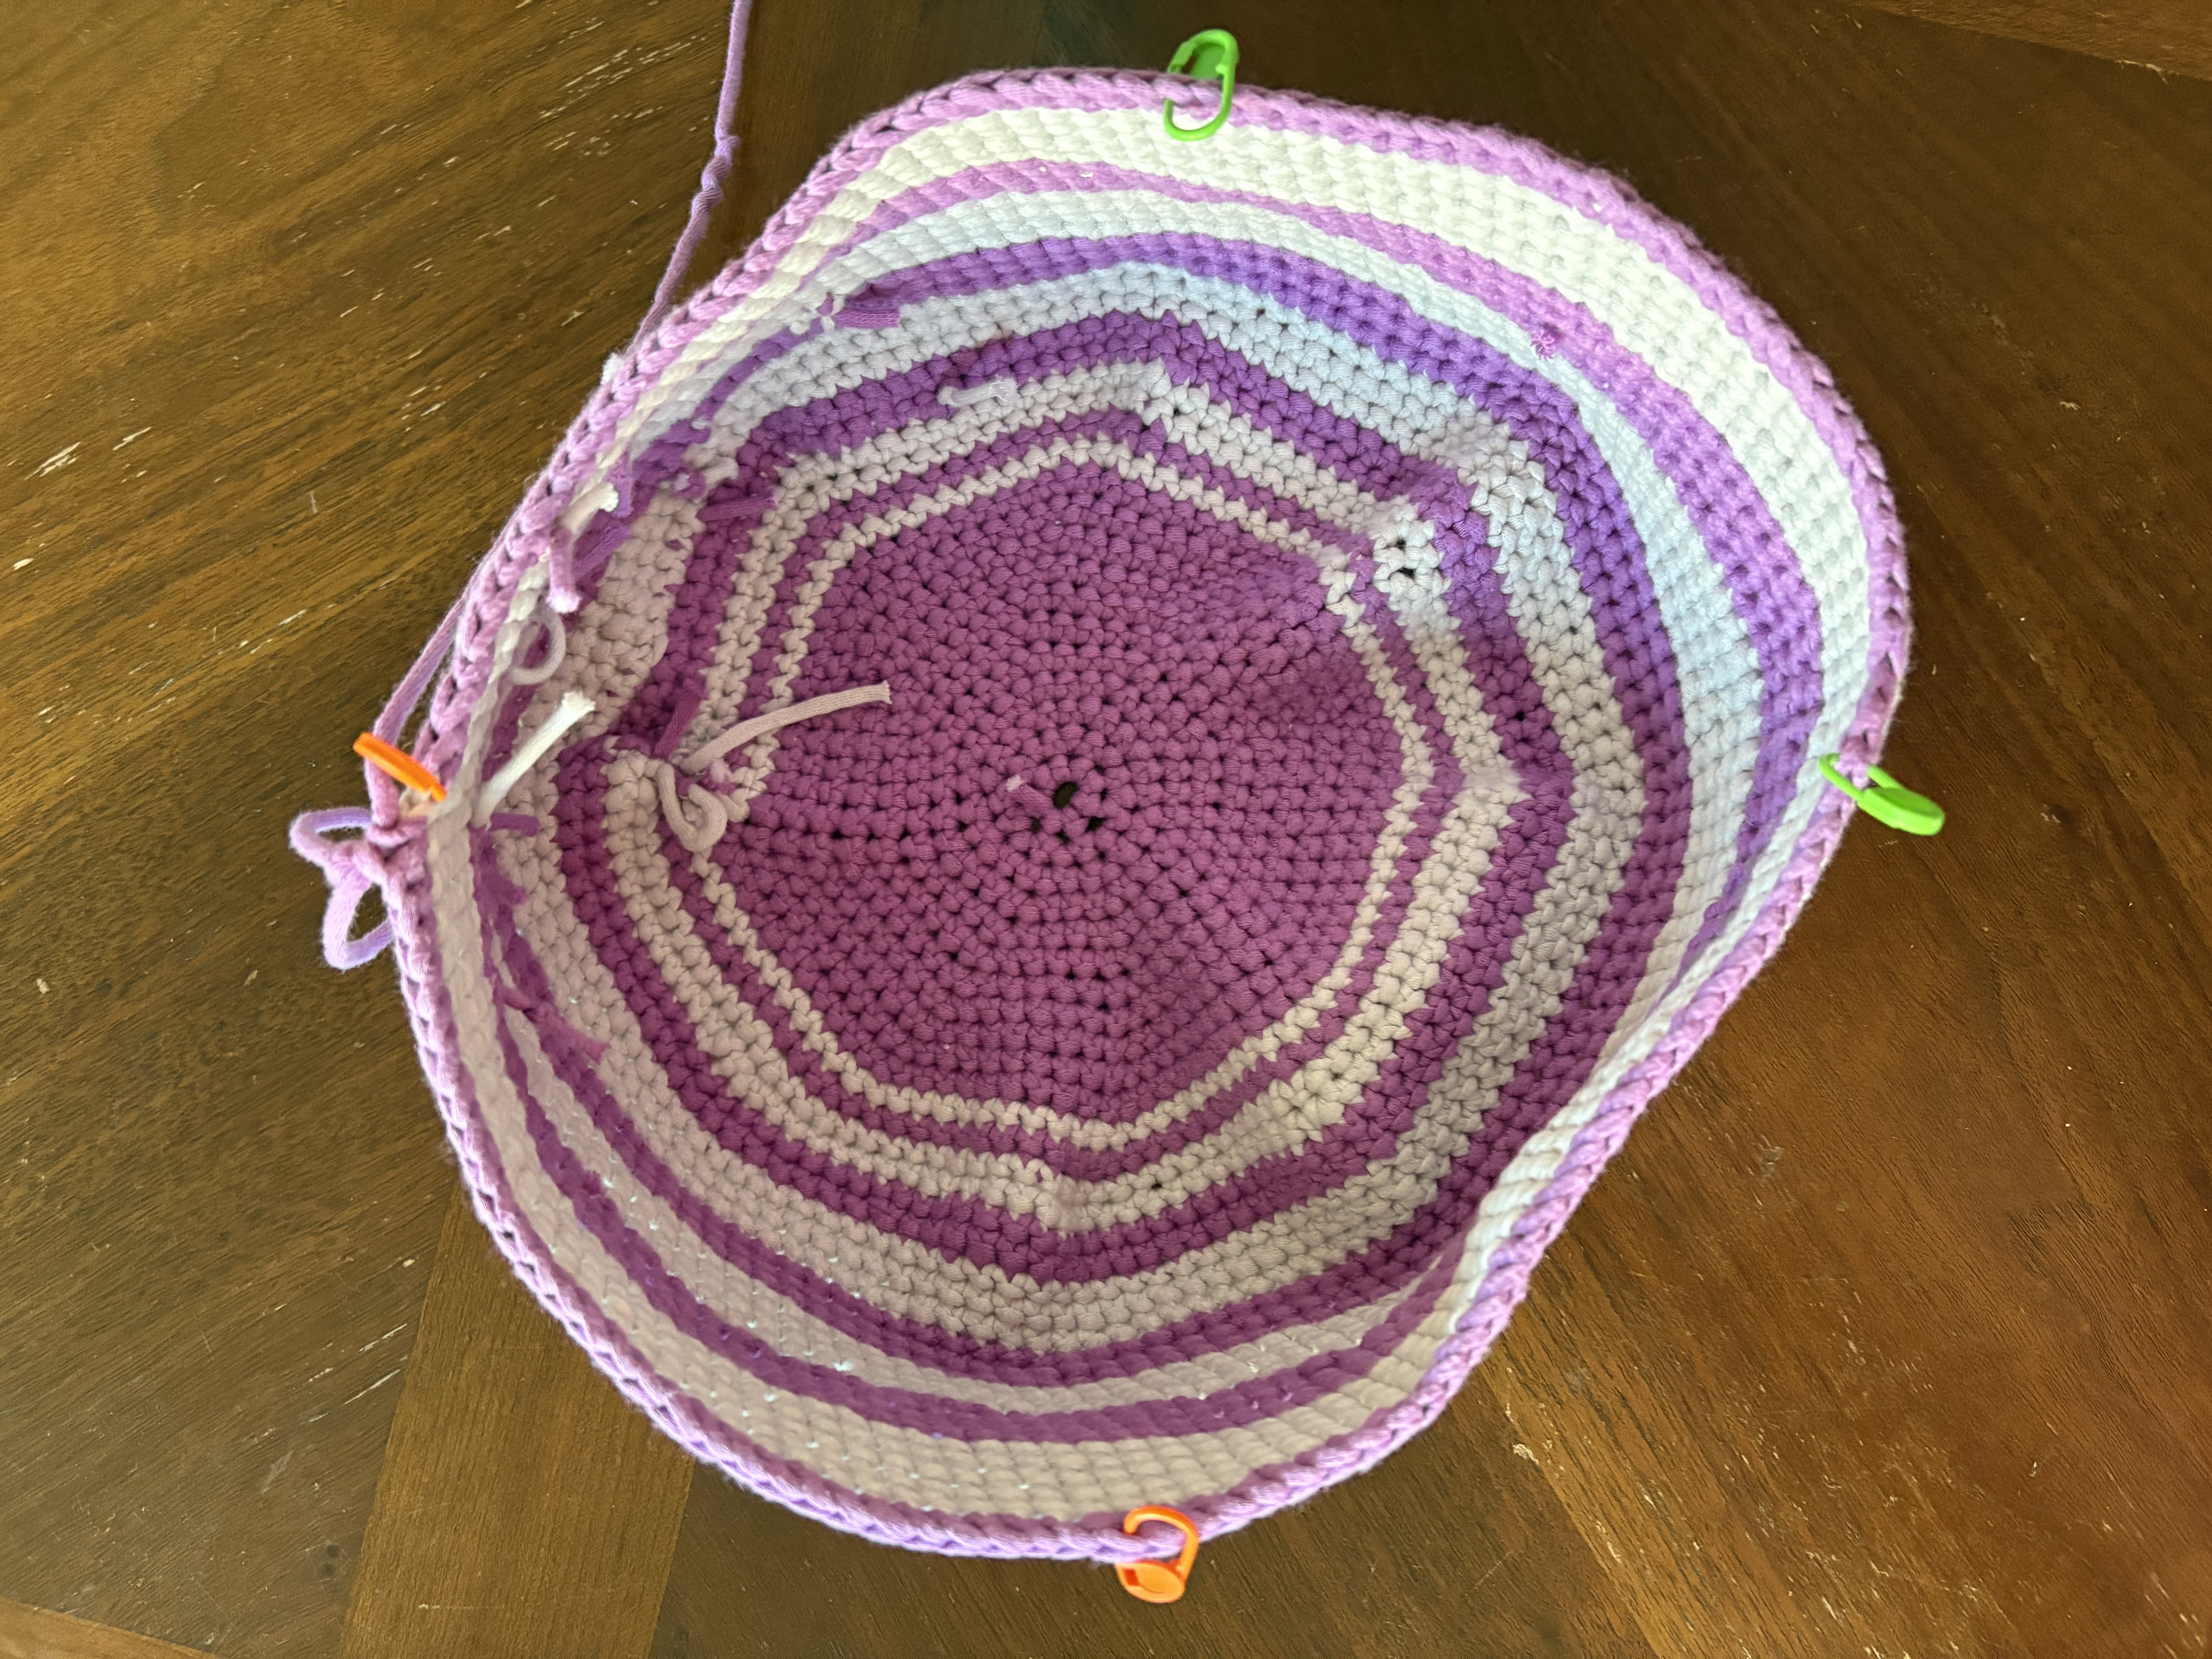
Ring Color Pattern
- Begin alternating your two yarn colors at the point you choose.
- The first rings of each color will be one round (e.g., white = 1 round, purple = 1 round).
- The second rings expand to two rounds each (white = 2 rounds, purple = 2 rounds).
- The third expand to three rounds each, and so on.
- The rings should start as slim stripes at the crown and gradually becoming bold blocks of color toward the brim.
Brim
- Rd 37 (again, depending where you stopped increasing): BLO sc around. (120 v’s)
- Rd 38: 5 sc, inc repeat around. (140 v’s)
- Rd 39: 6 sc, inc repeat around. (160 v’s)
- Rd 40: 7 sc, inc repeat around. (180 v’s)
- Rd 41: hdc across. (180 v’s)
Notes
- The staggered increases in Rounds 38–40 create the outward slope of the brim.
- Using hdc in Round 41 creates a ridge and gives the brim more drape.
- I found that placing stitch markers at the quarter points made it much easier to keep track of and verify the stitch count. As you work, move each marker up to the current round when you cross it, so the markers always stay aligned with your progress.