Intro
Happy New Year! It’s a holiday tradition of mine to work on Oxi over the break, and this year I focused on the UI and weapon huds.
Signed Distance Fields are a popular Games Industry technique for creating icons with crisp edges, glows, outlines, etc. This post covers my process. It is intended for intermediate Unreal users who know the basics of importing files, creating materials, etc.

What are Signed Distance Fields?
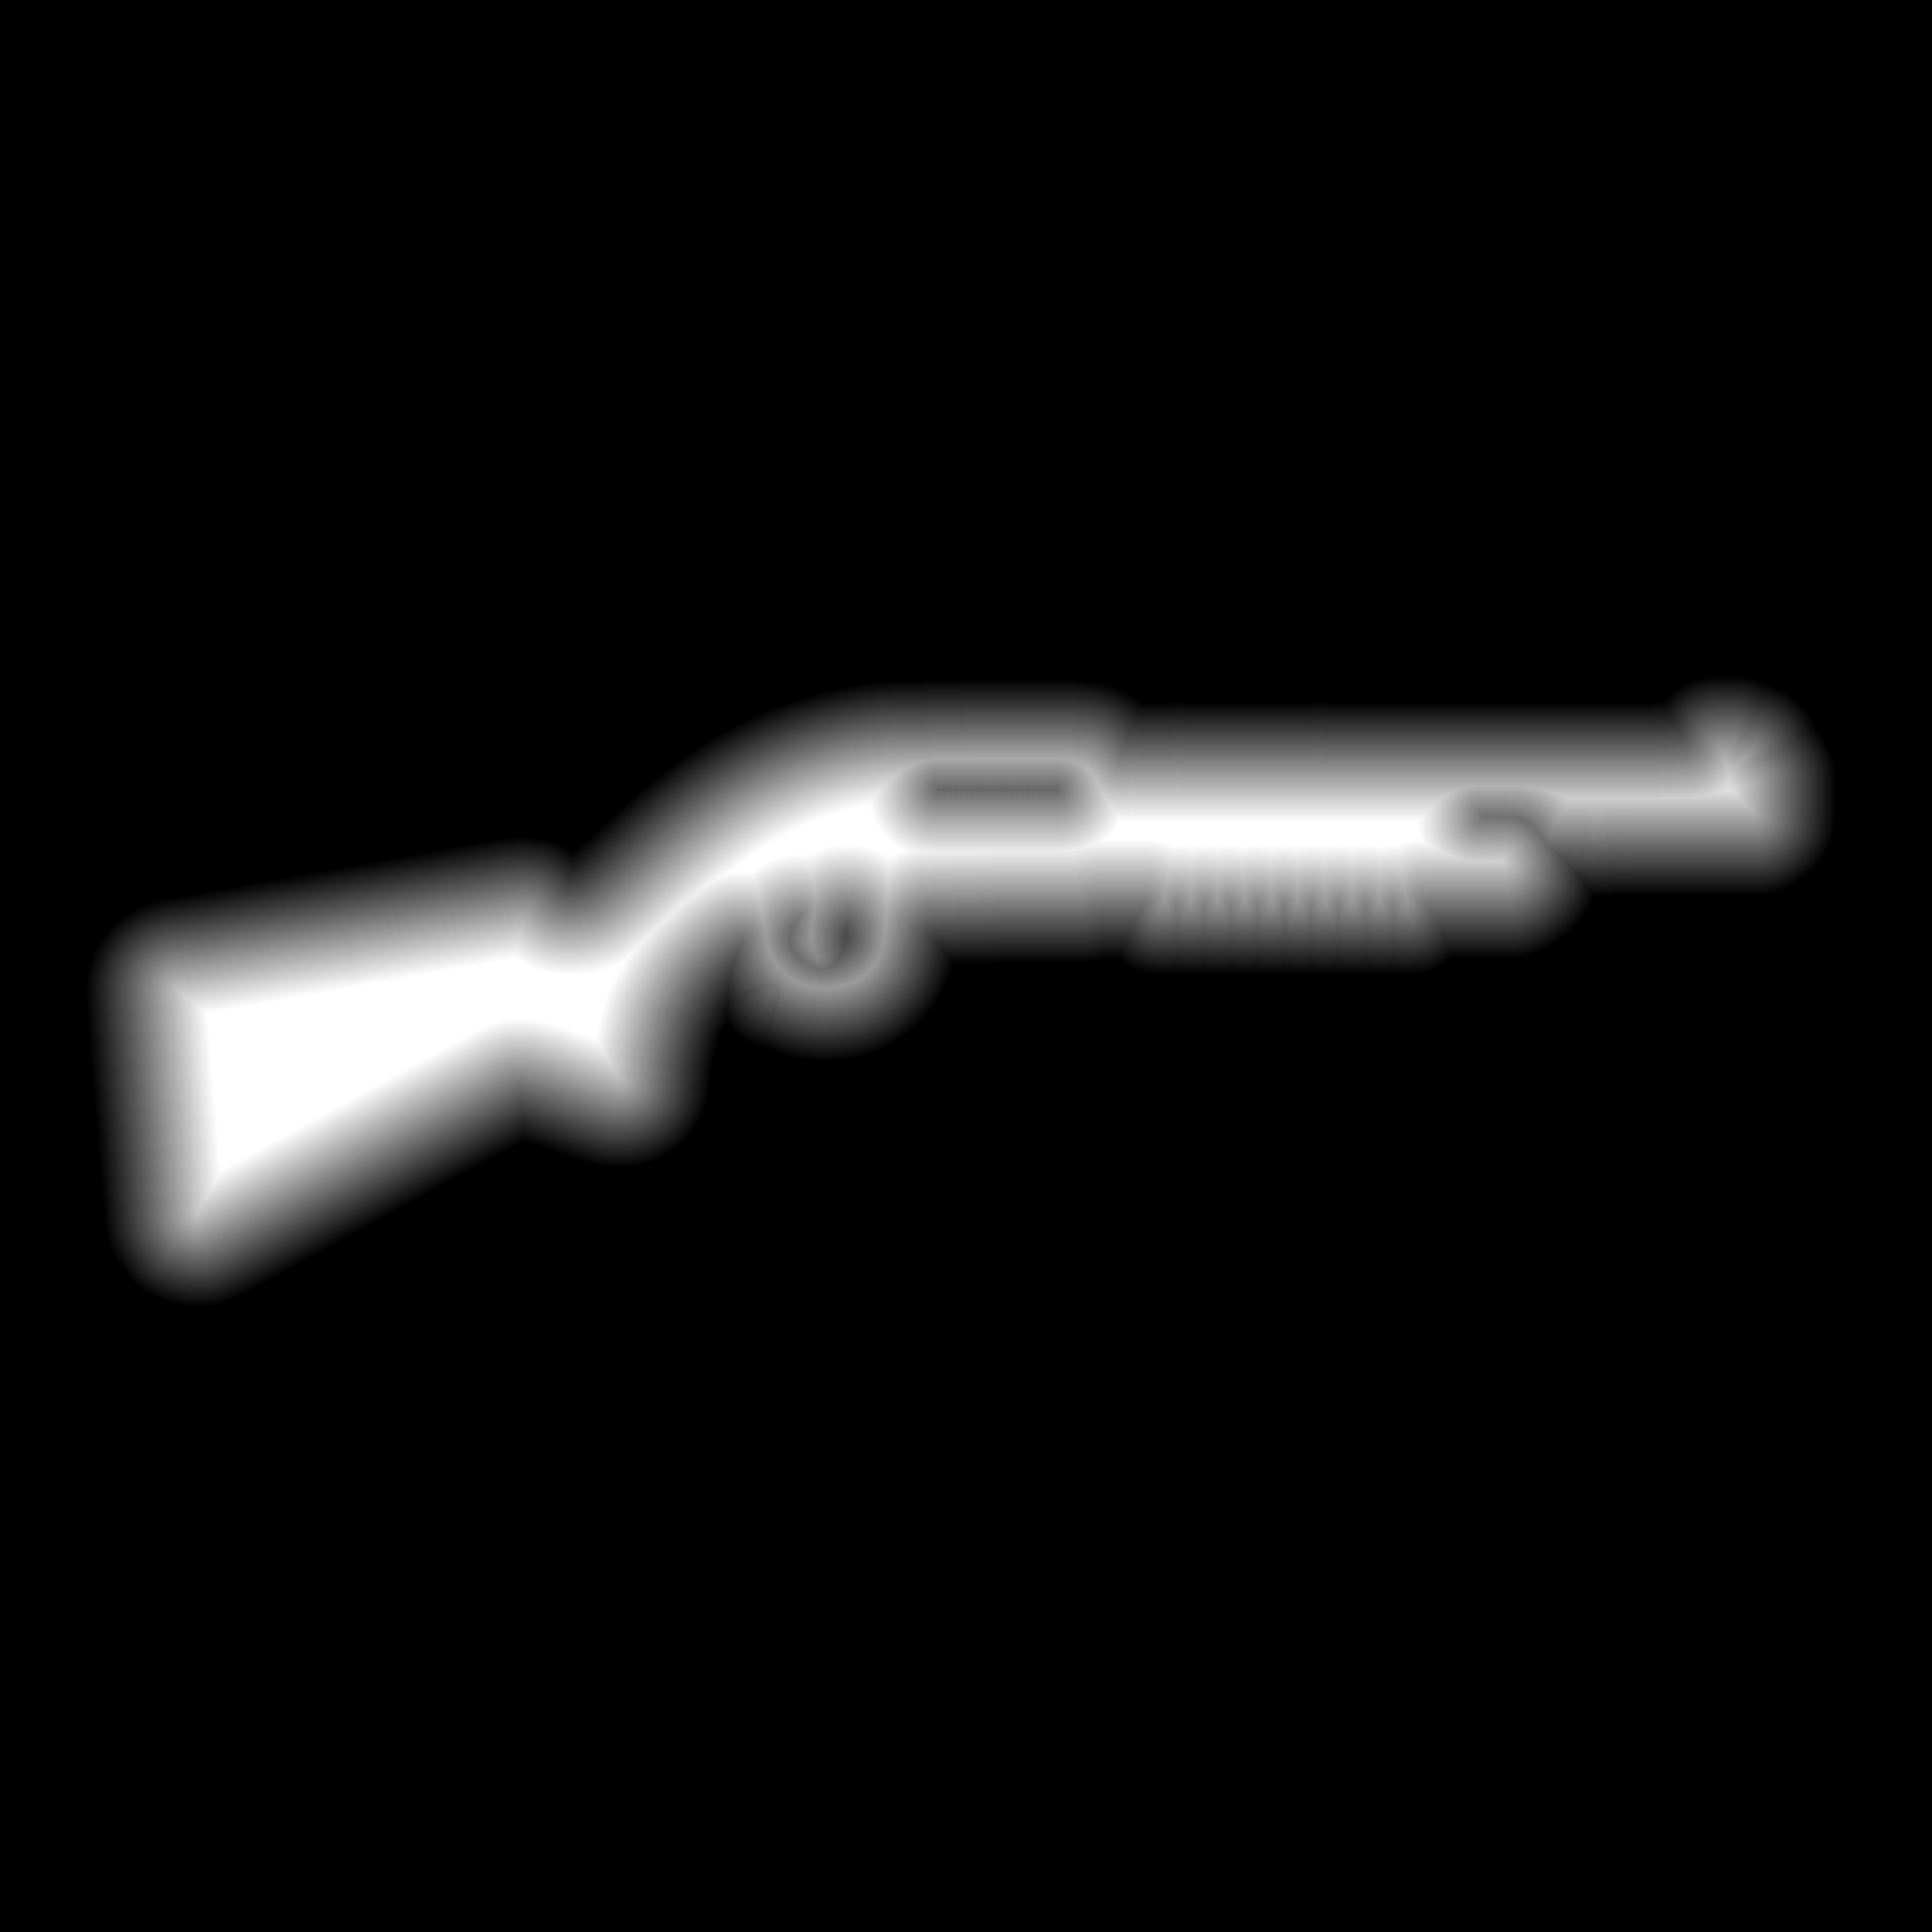
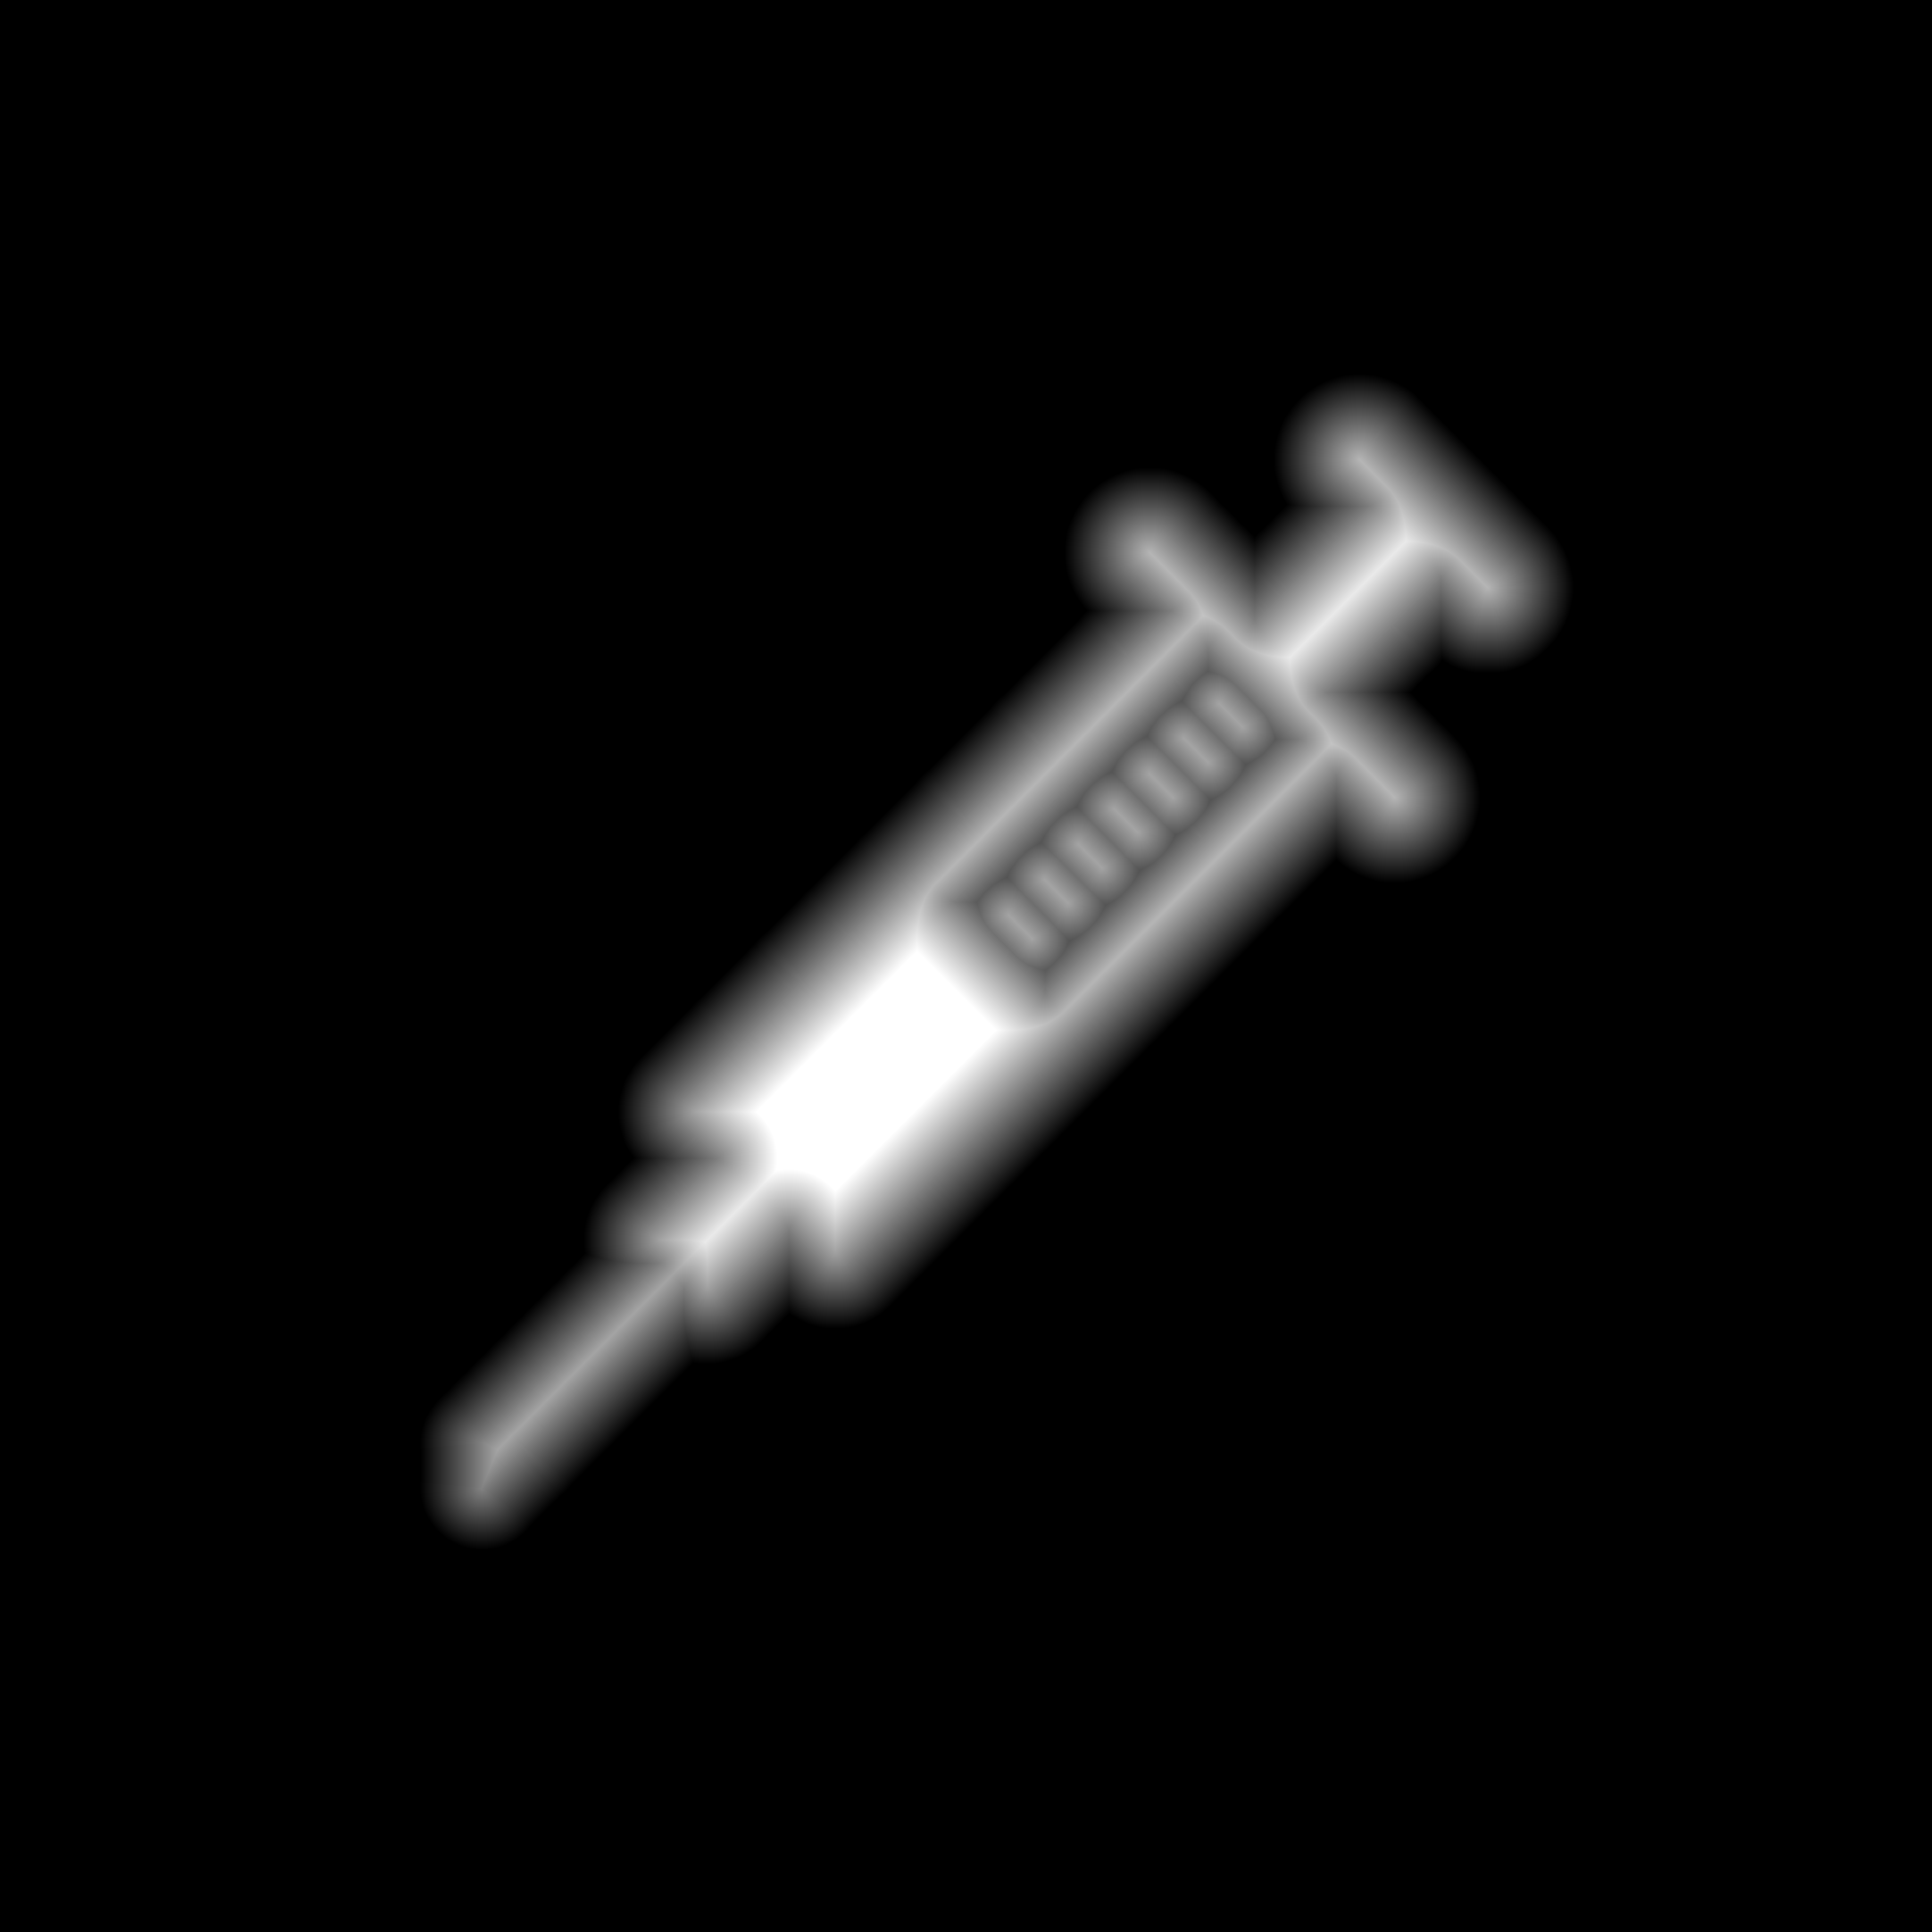
SDFs are 2D textures where each pixel contains its distance to nearest edge of the icon. White pixels are fully inside the icon, black are fully outside, and pixels along the edge form a gradient. Here’s are some examples:
How to create SDFs
- Start with a white icon on a transparent background. My examples use Adobe stock images.
- I used 4096×4096 source images, but typically you’ll want to author your images close to the final display size.
- Upload the texture to SDF Maker.
- Adjust your radius. I used 128 for my icons.
- Save the generated image and import it into Unreal
How to render with SDFs
- Here’s custom code which you can plug directly into a Custom Node in Unreal’s material editor:
const float FillMask = 1.0 – smoothstep(FillStepLow, FillStepHigh, SDFValue);
const float3 FillRGB = FillMask * FillColor.rgb * FillColor.a;
const float FillA = FillMask * FillColor.a;
const float OutlineMask = saturate(smoothstep(OutlineInnerMin, OutlineInnerMax, SDFValue) – smoothstep(OutlineOuterMin, OutlineOuterMax, SDFValue));
const float3 OutlineRGB = OutlineMask * OutlineColor.rgb * OutlineColor.a;
const float OutlineA = OutlineMask * OutlineColor.a;
const float GlowMask = (1.0 – smoothstep(GlowMin, GlowMax, SDFValue)) * (1.0 – FillMask);
const float3 GlowRGB = GlowMask * GlowColor.rgb * GlowColor.a;
const float GlowA = GlowMask * GlowColor.a;
const float3 FinalRGB = FillRGB + OutlineRGB;
OutOpacity = saturate(FillA + OutlineA + AdditiveColor.a);
OutGlowColor = GlowRGB + (AdditiveColor * FillMask);
OutGlowAlpha = GlowA + (AdditiveColor * FillMask);
return FinalRGB;
It looks like so in the Material Editor:
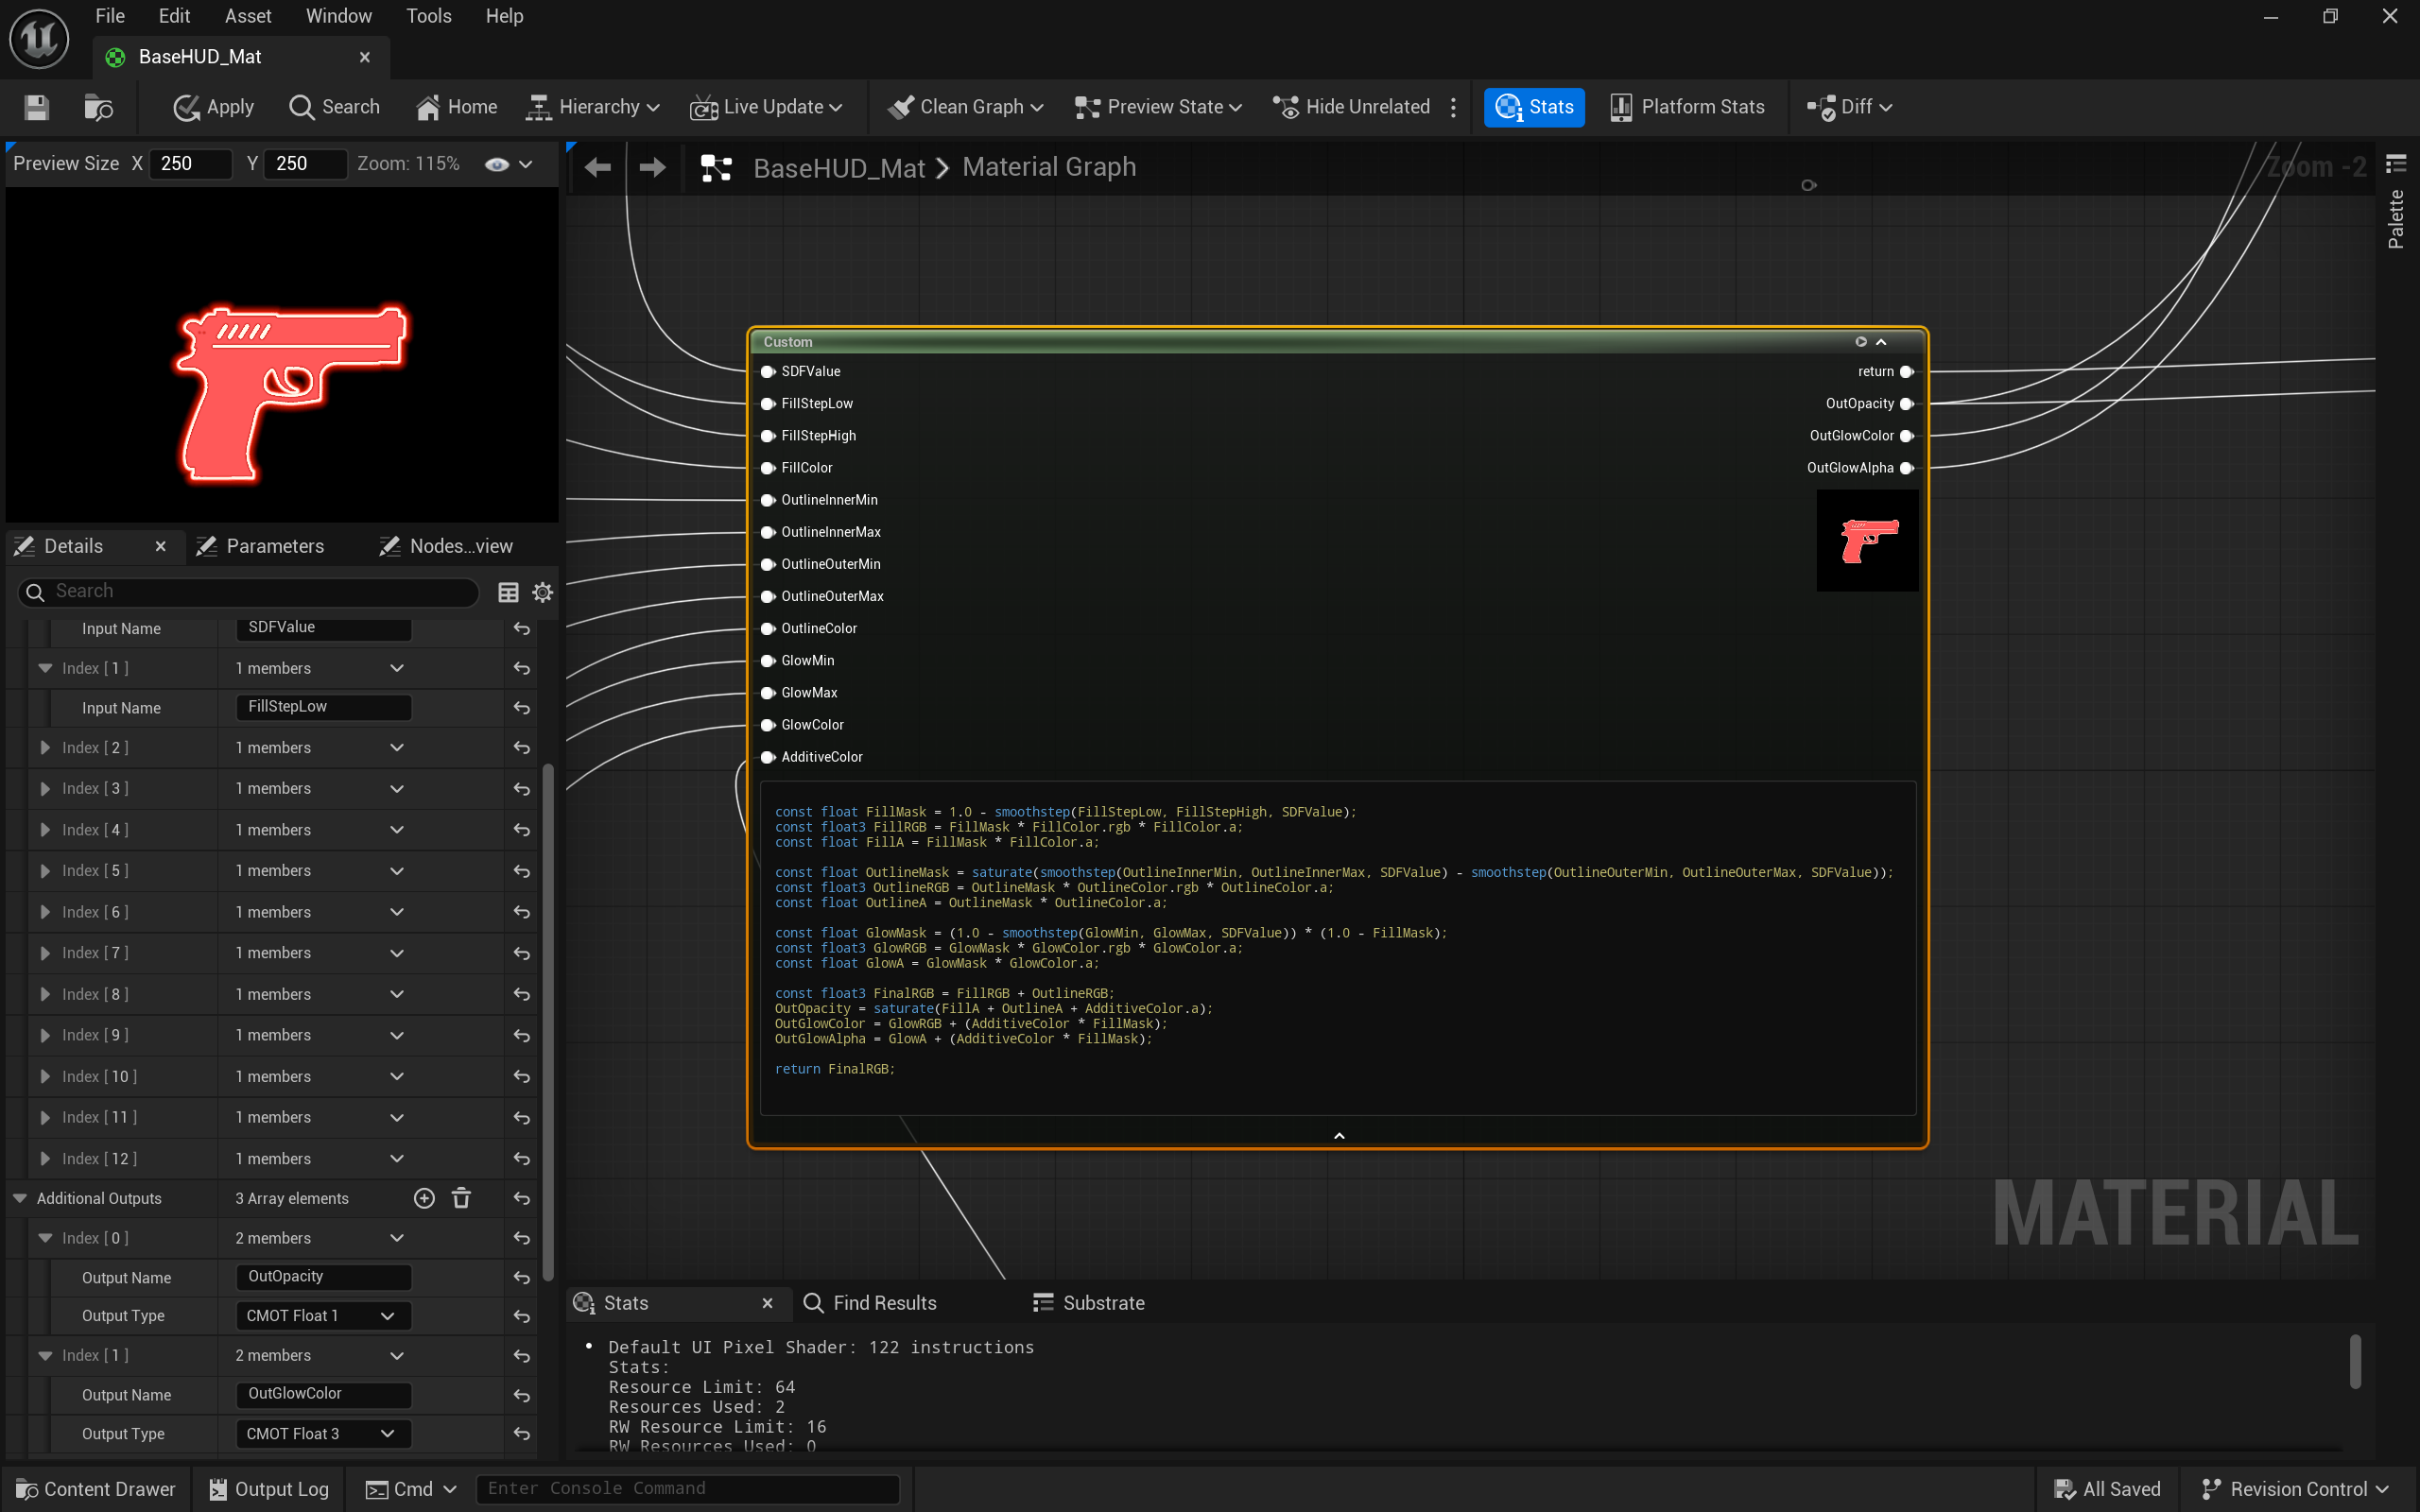
- Use these names and defaults for your Custom Node Inputs:
- SDFValue – Plug in 1 minus a TextureSampleParameter2D that references your imported SDF.
- Note: I prefer thinking of 1 = outside and 0 = inside. You don’t have to invert your sdf this way, just keep your math consistent.
- FillStepLow: 0.4 – The SDF value where the fill begins fading towards the edge.
- FillStepHigh: 0.55 – The SDF value where the fill becomes fully transparent.
- FillColor: #131059FF – The color and opacity of the icon’s interior.
- OutlineInnerMin: 0.45 – The SDF value where the outline begins to appear on the interior.
- OutlineInnerMax: 0.47 – The point where the outline reaches full intensity on its inner edge.
- OutlineOuterMin: 0.52 – The point where the outline begins to fade out on the outer side.
- OutlineOuterMax: 0.55 – The SDF value where the outline becomes fully transparent.
- OutlineColor: #FFB7AFFF – The color and opacity of the outline.
- GlowMin: 0.55 – The SDF value where the glow starts to appear outside the outline.
- GlowMax: 0.75 – The point where the glow fully fades out.
- GlowColor: #FF2200FF – The color and intensity of the glow.
- SDFValue – Plug in 1 minus a TextureSampleParameter2D that references your imported SDF.
- The return output can be plugged into the Final Color input of UI materials.
- I added these Additional Outputs to use for other effects:
- OutOpacity – Combined opacity from fill + outline + additive alpha
- OutGlowColor – The final glow RGB, including additive tinting
- OutGlowAlpha – Final Glow Alpha
- I added these Additional Outputs to use for other effects:
- Note: For additional effects, try a UV gradient on the FillColor input before feeding it into the Custom Node. Or perhaps, use the Time material node to animate GlowColor.